DIY skincare: Dandelion salve
When I created my first-ever batch of homemade salve some years ago, there were three main reasons:
Ingredients
Packaging
Price
By making my own balms, I can control what goes into the mix, and more importantly, what doesn’t. Having spent 30-some years paying attention to what I put in and on my body, I like the simple, identifiable list of ingredients in a homemade skincare product. I also appreciate the opportunity to avoid new plastic containers and to find new uses for existing ones. Finally, I like spending time instead of dollars. Using a weekend afternoon or two to make a kitchen concoction feels like an extension of my love of cooking while also providing a balanced life-energy exchange. Getting to know various plants through the process of selecting and harvesting them connects me to a vital, living realm outside of myself, while the finished product is a future investment in me. Both are a form of self-care that I am actively trying to cultivate!
If you’d like a deeper dive into the value of dandelions (and backyard “weeds” in general), I wrote about that here.
Now, to our project! Here’s a printable version of the guide that follows.
Consider this recipe a starting point. It’s foundational and modifiable. It begins with infused oil, which is useful in its own right. That might be all you want to do for starters. You can decant it into a glass bottle, store in a cool, dark place, and use it on skin or hair, as a massage oil for achy muscles, or for cracked feet and hands.
If you’re feeling inspired, you can move forward by combining the infused oil with sturdier ingredients. For the most basic salve, you’ll mix infused oil with beeswax. For an end product with even more moisturizing capacity, you can include shea butter. You might want to use one in summer and a different one in winter.
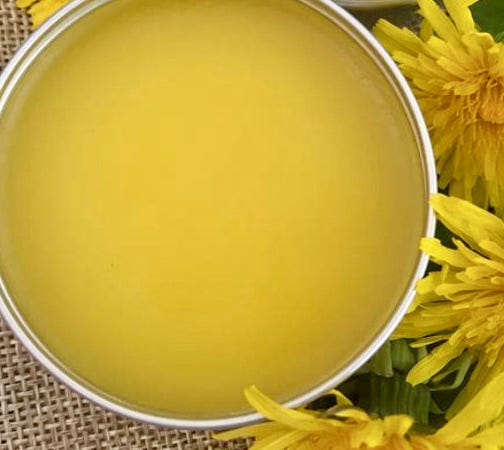
Dandelion salve is soothing and moisturizing. It works well for dry and cracked skin. It also helps soothe sore muscles and joints.
If you’re ready to take your DIY skincare to the next level, you can switch out dandelions for other backyard delights, or mix and match in the same batch. The color of your final product will change, and you’ll want to read up on different plant properties to get the qualities you desire, but the approach will be very much the same no matter which plant(s) you choose. Instead of, or in addition to dandelion, you might consider: clover flowers, plantain leaves, chickweed, calendula, rose petals, ground ivy, comfrey, purple coneflower, basil, rosemary, and lemon balm.
Here’s the equipment you’ll need:
Shallow tray, basket or screen
Pint mason jar(s)
A double-boiler. If you don’t have one (I don’t!) create a make-shift version by inserting a glass, heatproof bowl or measuring cup (Pyrex), or stainless steel bowl into a larger pan with water below.
Fine mesh strainer/sieve
Cheesecloth (optional)
A spoon or other tool you don’t mind using for a waxy substance. Chopsticks are handy!
Glass or tin storage containers, or recycled options from home. (Note: If you are reusing plastic jars, make sure to let your hot liquids cool to around 100°F before adding.)
Cooking thermometer (optional)
Basic ingredients:
1 cup carrier oil for infusing: Olive oil, sunflower oil, sweet almond oil or a combination of all three. Organic and unrefined oils are best. (See Resources below.)
4 tablespoons beeswax pastilles, or equivalent in blocks (about 1 ounce), depending on what kind of supplier you use. (See optional step and note below.)
2 tablespoons unrefined shea butter (optional): If you add shea butter, use 3 level tablespoons of beeswax pastilles. If you skip the shea butter, use 4 tablespoons beeswax. (Note: These are not absolute measurements. The more beeswax you add, the firmer your end product. The more shea butter you add, the longer the product will take to absorb into the skin. Play with proportions as you get more familiar with what you like.)
Essential oils (optional): Start with 12-24 drops of one fragrance. Add an additional 4-5 drops of other essential oils of choice. Combinations worth considering: lavender + sweet orange; chamomile + rosemary; rose + lemon
Instructions
Make the infused oil:
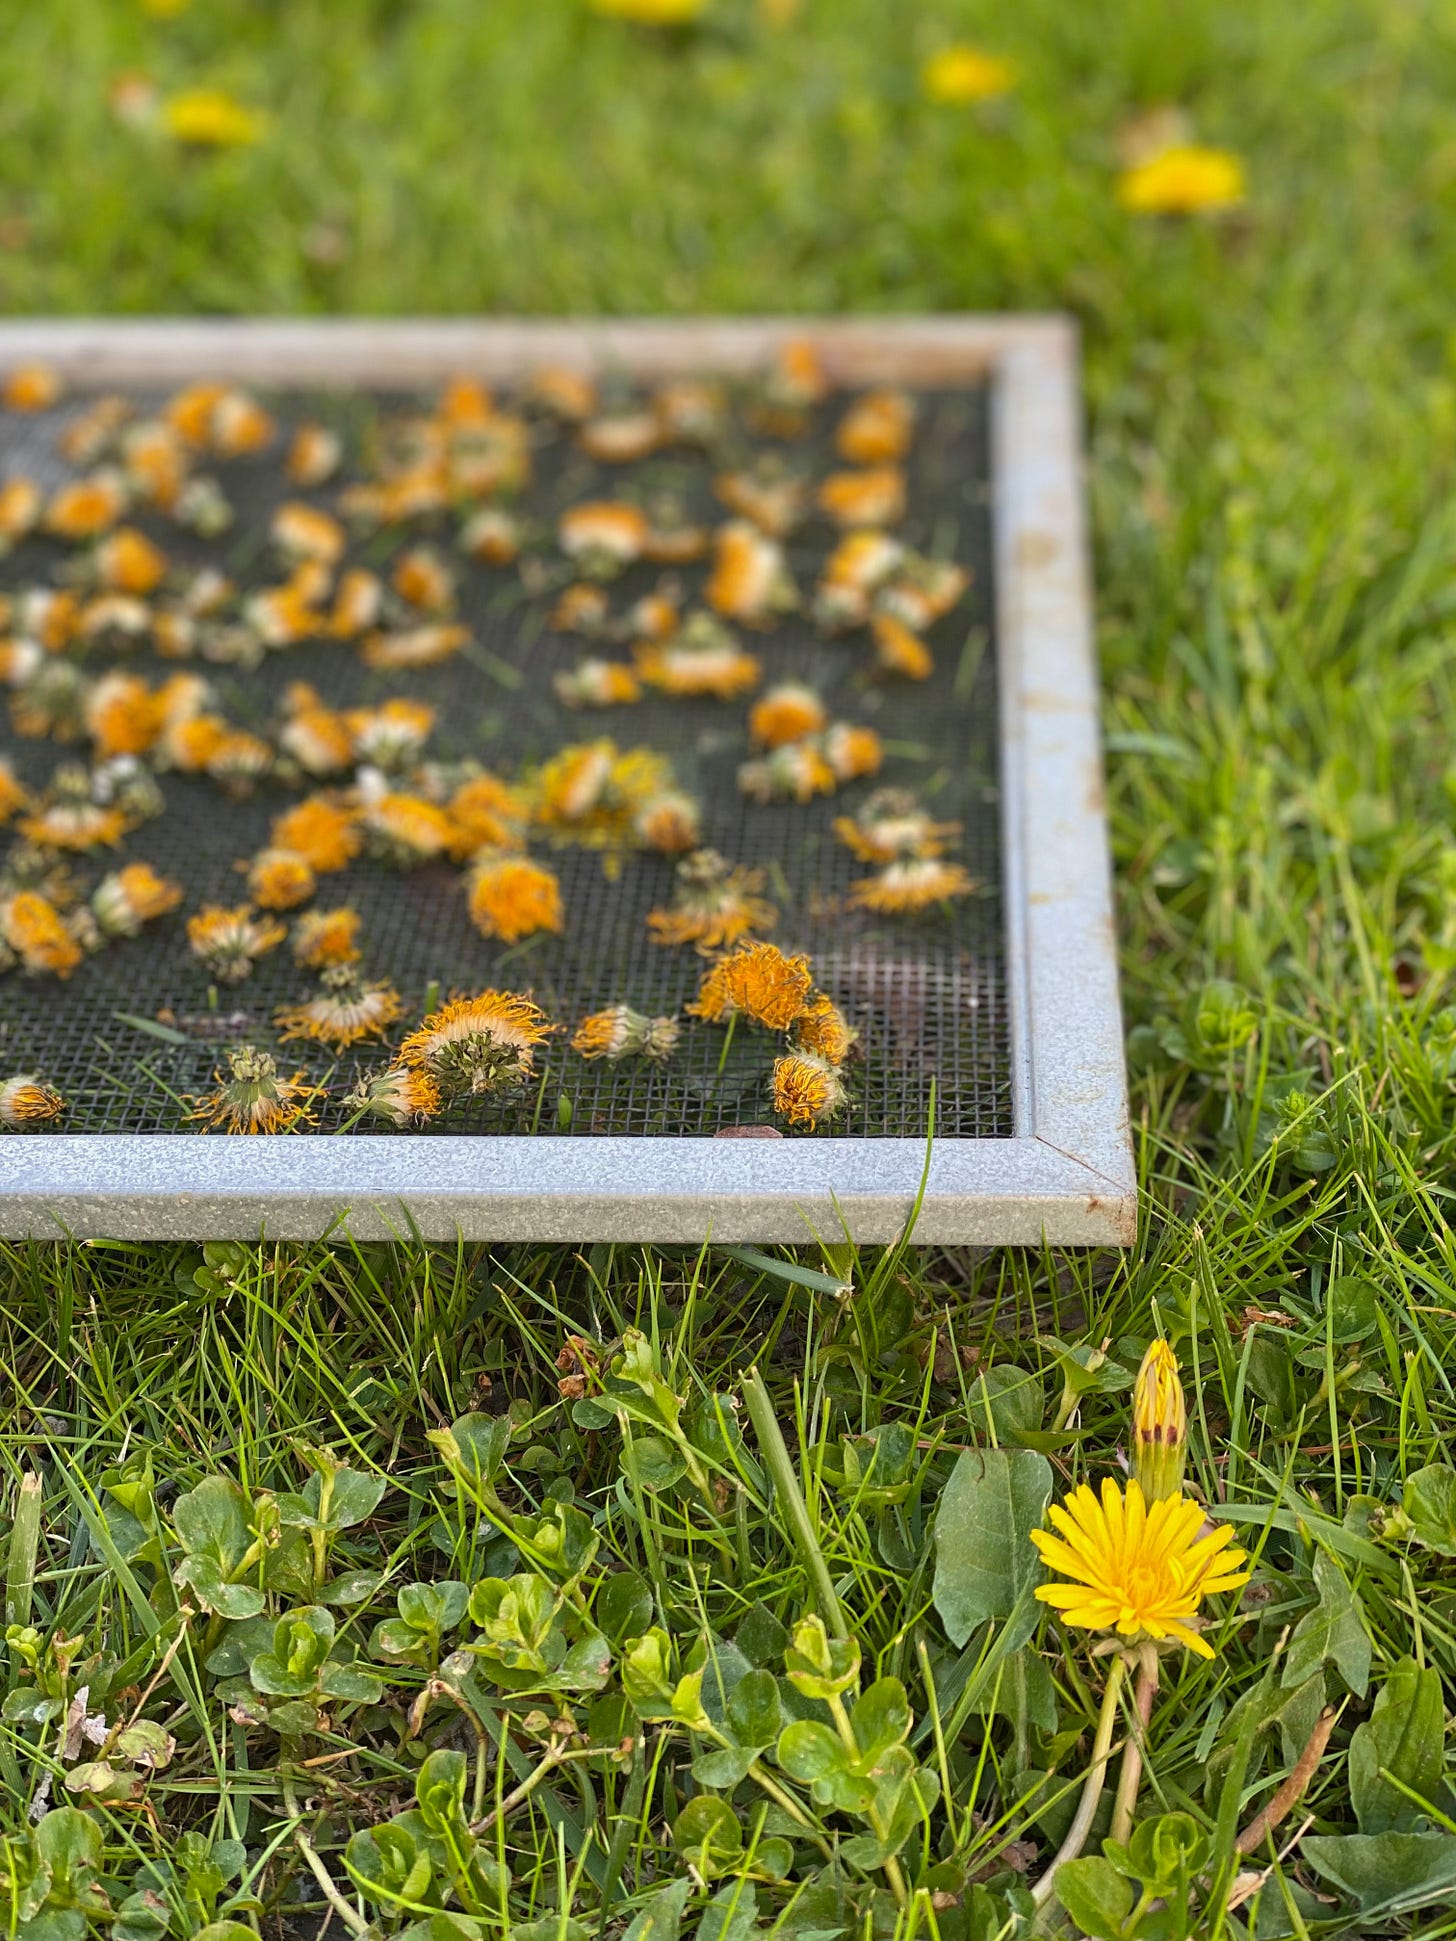
Harvest your plant material. Pick on a dry morning, after any dew has evaporated. Spread the flowers or leaves in a single layer on a tray, cookie sheet, or basket. Use what you have (I use an old window screen). Allow it to dry for 1-2 days to remove excess moisture. Choose whatever space you have that is warm and dry (attic, outdoor shed, garage, etc) as long as you’ll remember it’s there!
Fill a jar halfway with plant material. (If you’re using more than one variety of plant, I would recommend using smaller, half-pint jars, so you can keep your infusions separate.)
Pour your carrier oil of choice over the herbs, covering them by an inch or more.
Stir to release air bubbles.
Cap with a secure lid and store in a cool, dark place for 2-3 weeks. Note: many online recipes suggest keeping your infusion in a sunny window. Since oils degrade easily in sunlight, I recommend against this. You’ll get good results in a cool, dark place even if it takes a little more time.
Check the bottle once a week to make sure it’s not developing mold. Gently shake the contents when you’re checking up on things.
When your infusion is ready, strain the oil by pouring through a cheesecloth or fine mesh sieve (I use both to screen out small bits of plant material, but they won’t hurt you if your end results are slightly less filtered.)
Make the salve:
Wash containers and make sure they are completely dry before filling (water is NOT desirable in your finished salve and will cause it to spoil)
Add water to the bottom pan of your double-boiler.
If using shea butter, start by heating that separately, over low heat. Shea butter can become grainy if not heated sufficiently and cooled properly. Heat to 175° Fahrenheit and hold it at that temperature for 20 minutes. Remember, this is optional. My skin is especially dry, so I like to include it. But, I made this recipe without it many times before adding this step. You may opt to leave it out for good.
Add 1 cup of your dandelion-infused oil and 3-4 tablespoons of beeswax (see notes above).
Heat the mixture on the stovetop over medium-love heat, stirring frequently – just until the beeswax melts.
As soon as everything melts and is thoroughly combined, remove from heat.
Let cool to 75-80°F before adding essential oils. This will help keep these fragile fragrances from dissipating due to the heat of the base oil. It will also preserve their therapeutic qualities. 75-80° is close to room temperature for many households. If you have a thermometer, you can speed the process along by putting your container of hot oil/beeswax in the refrigerator for a few minutes. You’ll notice that the outside edges will firm up quickly. Check temps every 2 minutes, stirring in the firmer edges and returning to the refrigerator until the mixture is cool enough.
While it is still in a semi-liquid state, pour the salve into your chosen containers. (If it starts to solidify while you’re still filling containers, simply put it back on medium-low heat until it liquifies again.)
Leave lid(s) off and transfer the filled container(s) to your refrigerator. This step is mostly designed to protect your shea butter from crystalizing. If you’re omitting the butter, you can skip the final refrigerated cool down.
The salve will firm up as it cools. Leave it undisturbed for 24 hours before using.
Store in a cool location out of direct sunlight. If your home tends to be warm, you can store extra containers in the refrigerator.
Apply to your skin as needed. It will last a long time!
Resources
Use your backyard or a friend’s for dandelion, plantain, chickweed, ground ivy and others.
Mountain Rose Herbs or check with your local farmers.
Enjoy!
~Elizabeth


